

This homemade Instant Pot yogurt is simple, easy, cheap, and way better than store-bought. I make it in quart jars in an 8-quart Instant Pot, which fits four quart jars perfectly. Other Instant Pot sizes may fit fewer jars, so check yours before starting.
The recipe is easiest when measured per quart. I make four quarts at a time, and I always keep one quart plain with no fruit and no sweetener. That plain jar becomes the clean starter for the next batch, and is usually just eaten plain or turned into some fantastic homemade ranch dressing.
Using the gelatin is optional. I like using it because it gives the yogurt a thicker, more luxurious texture with an almost melt-in-your-mouth quality. To me it is even better texture than Greek yogurt, but you can leave it out and still make excellent homemade yogurt.
Choosing a Starter
Use a plain yogurt with live active cultures.
Your starter affects the final flavor, so use the best tasting plain yogurt you can find. Additionally you can add milk kefir along with the yogurt starter. When you add the Kefir it makes the yogurt slightly more tart and adds more bacterial diversity.(optional on the first batch)
Then for the next batch, just use your plain unsweetened jar as the starter.
Ingredients:
Per Quart:
- 1 quart milk
- 1 tablespoon beef gelatin, optional
- 3 tablespoons agave, optional
- 1 spoonful plain yogurt with live active cultures
- 1/2 to 1 cup frozen fruit, optional
For four quarts:
- 4 quarts milk
- 4 tablespoons beef gelatin, optional
- 12 tablespoons agave, optional
- 4 spoonfuls plain yogurt starter
- 2 to 4 cups frozen fruit, optional
Instructions
1. Add the gelatin, if using
Pour the cold milk into a large pot.
If using gelatin, add it to the cold milk and mix thoroughly. Adding gelatin while the milk is cold helps prevent clumps.
If skipping gelatin, just add the milk to the pot and move on.
2. Heat the milk
Heat the milk to 185°F to 195°F, stirring occasionally to prevent scorching.
This step helps the yogurt set better and improves the final texture.
3. Prepare the jars
Set out your quart jars.
Add frozen fruit and sweetener to any jars you want flavored. I usually use 1/2 to 1 cup frozen fruit and 3 tablespoons agave per quart. excluding the plain quart it gets no sweetener and no flavor.
The plain quart is used as starter for the next batch and is highly recommended. The plain yogurt is so good it can be eaten with a spoon. I cant even describe the difference between it and the store bought you just simply have to try it.
In addition to the fruit you can add just about any flavorings you want so far I’ve tried vanilla, coconut, swap the agave for honey for a honey yogurt, agave for maple for maple yogurt the possibilities are endless experiment and let me know what you love.
4. Fill and cool
Pour the hot milk into the quart jars.
Let the jars cool until the milk is below 100°F before adding the starter. If the milk is too hot, it can damage the live cultures.
5. Add the starter
Add one spoonful of plain yogurt with live active cultures to each quart jar.
I don’t stir the starter in just add it and leave it alone. I have not found any reason to do more than that.
If you want add some cream on top.
6. Incubate
Place the jars in the Instant Pot with 1 to 2 inches of water in the bottom.
Lightly close the jar bands. Don’t tighten them hard.
Set the Instant Pot to 108°F and incubate for 6 hours and 30 minutes.
7. Chill
Move the jars to the refrigerator and chill completely.
The yogurt thickens more as it cools.
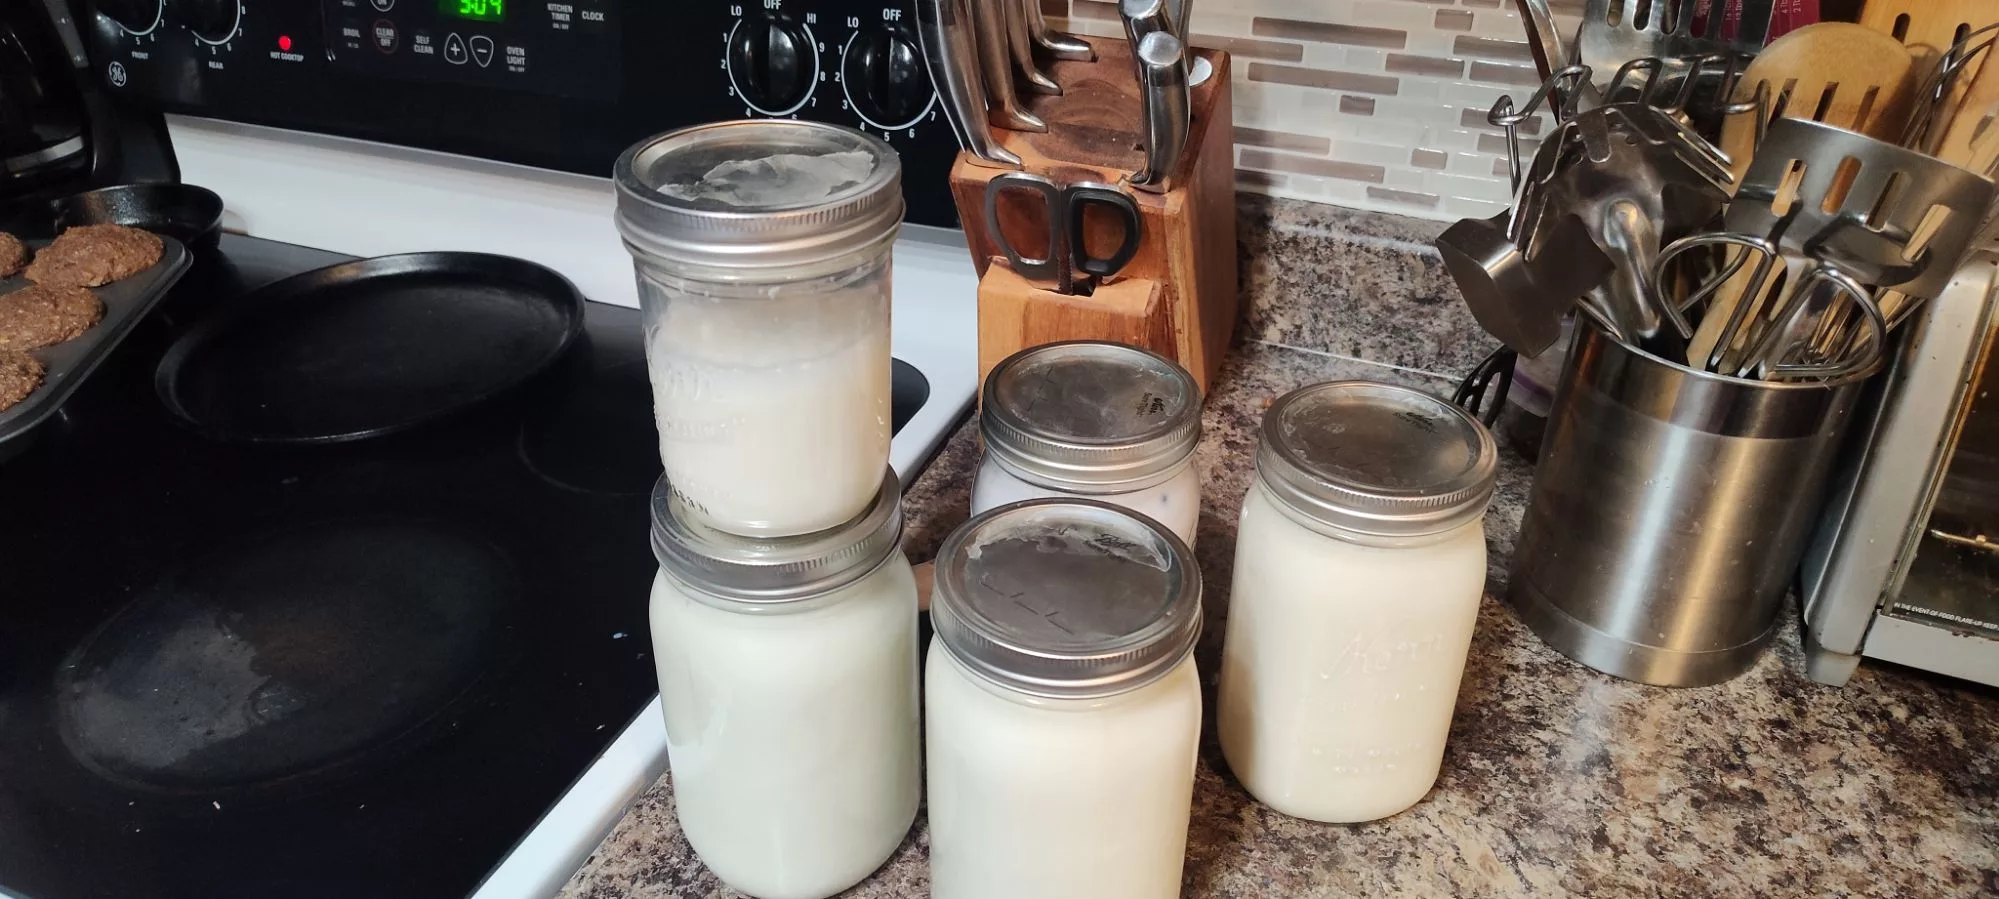
The quarts will vacuum seal and stay fresh for a long time in the fridge
Why Heat the Milk?
Heating the milk to 185°F to 195°F helps the yogurt set better.
When milk is heated, the proteins change structure. This helps them form a stronger yogurt texture during fermentation. Skipping this step can still make yogurt, but the final texture is usually thinner and less consistent.
What Gelatin Does
Gelatin is not required, but it helps with texture.
As the yogurt cools, gelatin forms a soft network that holds moisture in place. This gives the yogurt more body and helps reduce thinness or separation.
The yogurt will still work without gelatin. With gelatin, it sets thicker and has a more luxurious texture.
Thank you for reading I love eating this yogurt on top of my Protein Packed Pancakes, or with my High Fiber Bran Muffins.

Leave a Reply