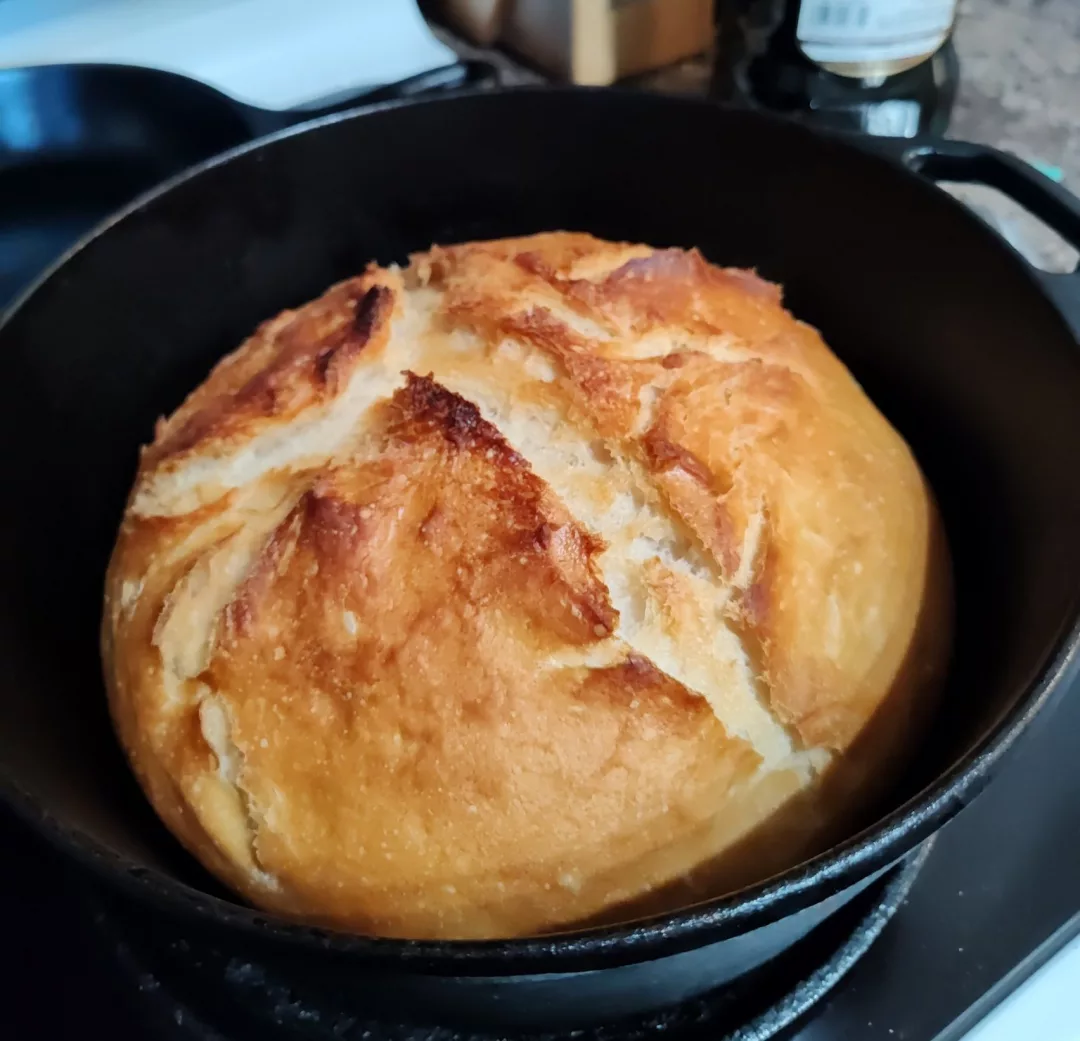
So you want to make a sourdough starter but don’t know where to begin?
This is the easy sourdough starter recipe I used to get up and running.
Step One: Gather Your Materials
You’ll need a few simple things:
- A vessel – I use a quart Mason jar with a paper towel and ring, but any glass jar works. Just cover it with something breathable and secure with a rubber band.
- Good covers: paper towel, coffee filter, fine cheesecloth, or even an old cotton t-shirt.
- A packet of yeast – Yes, yeast! This isn’t “traditional,” but it jump-starts the process so your starter is usable the next day. Use a good quality yeast without preservatives. (Ascorbic acid/vitamin C is fine—it just slows bacteria a bit.)
- Good quality flour – Any unbleached flour works. Organic is best but not required.
- Pure water – Avoid chlorinated tap water, which can kill yeast and bacteria. Filtered or bottled works fine.
- A kitchen scale (optional but helpful) – Makes measuring easy. Don’t have one? Use these conversions:
- 1 Tbsp ≈ 8 g flour
- 1 cup ≈ 128 g flour
- 1 ml water = 1 g water
Step Two: Mix It Up (The Witch’s Cauldron)
In your jar, mix together:
- 1 packet of yeast
- 150 g flour
- 150 g water
Stir well, cover with your breathable lid, and leave it in a spot out of direct sunlight.
Step Three: Wait for the Magic
After about an hour, you’ll see it puff up. By the next day, you can already use it for bread!
⚠️ Note: It won’t taste sour yet. The sour flavor comes later as bacteria build up over several days. Right now, it’s just yeast-powered, which still makes light, fluffy bread.
Step Four: Feeding Your Starter
- For the first week: feed daily.
- After that: every other day (or less if you’re not baking often).
To feed:
- Add ~50 g flour + 50 g water. Stir well.
👉 Many recipes tell you to discard half each time. I don’t bother—only discarding some if the jar gets too full.
Common Starter Issues
Dry crust on top? Scrape it off and keep going.
Water/alcohol smell on top? Stir in a little extra flour and continue as normal.
Not enough starter for baking? Feed it more. Use a 1:1 ratio of flour to water by weight.
Storing Your Starter
If you’re not baking for a while, you can “hibernate” it in the fridge:
- Transfer to a clean jar with a tight lid.
- Feed it ~75 g flour + water before chilling.
- Keep in the fridge and feed once a week (every 7–10 days).
Tips for Flavor & Texture
- More water = more sour flavor
- More flour = milder bread
- Feed every 12 hours with a 1:1:1 ratio (starter:flour:water) if you want bigger holes in your bread.
Personally, I prefer a denser crumb—it’s better for sandwiches and butter. But experiment and see what you like best.
Conclusion
This fast and easy sourdough starter is perfect for beginners and casual bakers. You’ll get a reliable, fluffy bread starter without wasting tons of flour or waiting weeks.
The fun part? You can play around with feeding schedules, hydration, and ratios to discover what works for your taste. In two years of baking, I’ve never had a bad loaf.
So grab a jar, some flour, and yeast—and get started!
Bread recipe coming soon 🍞
Want to see more NOW: Browse all recipes
If you enjoyed this please Share:


Leave a Reply